Claude Desktop Setup
Download Claude Desktop from https://claude.ai/download.Step 1: Install MCP Proxy
Install the open-source MCP proxy tool:Step 2: Configure Claude Desktop
- Open Claude Desktop and navigate to Settings → Developer
- Click the button to edit the configuration file
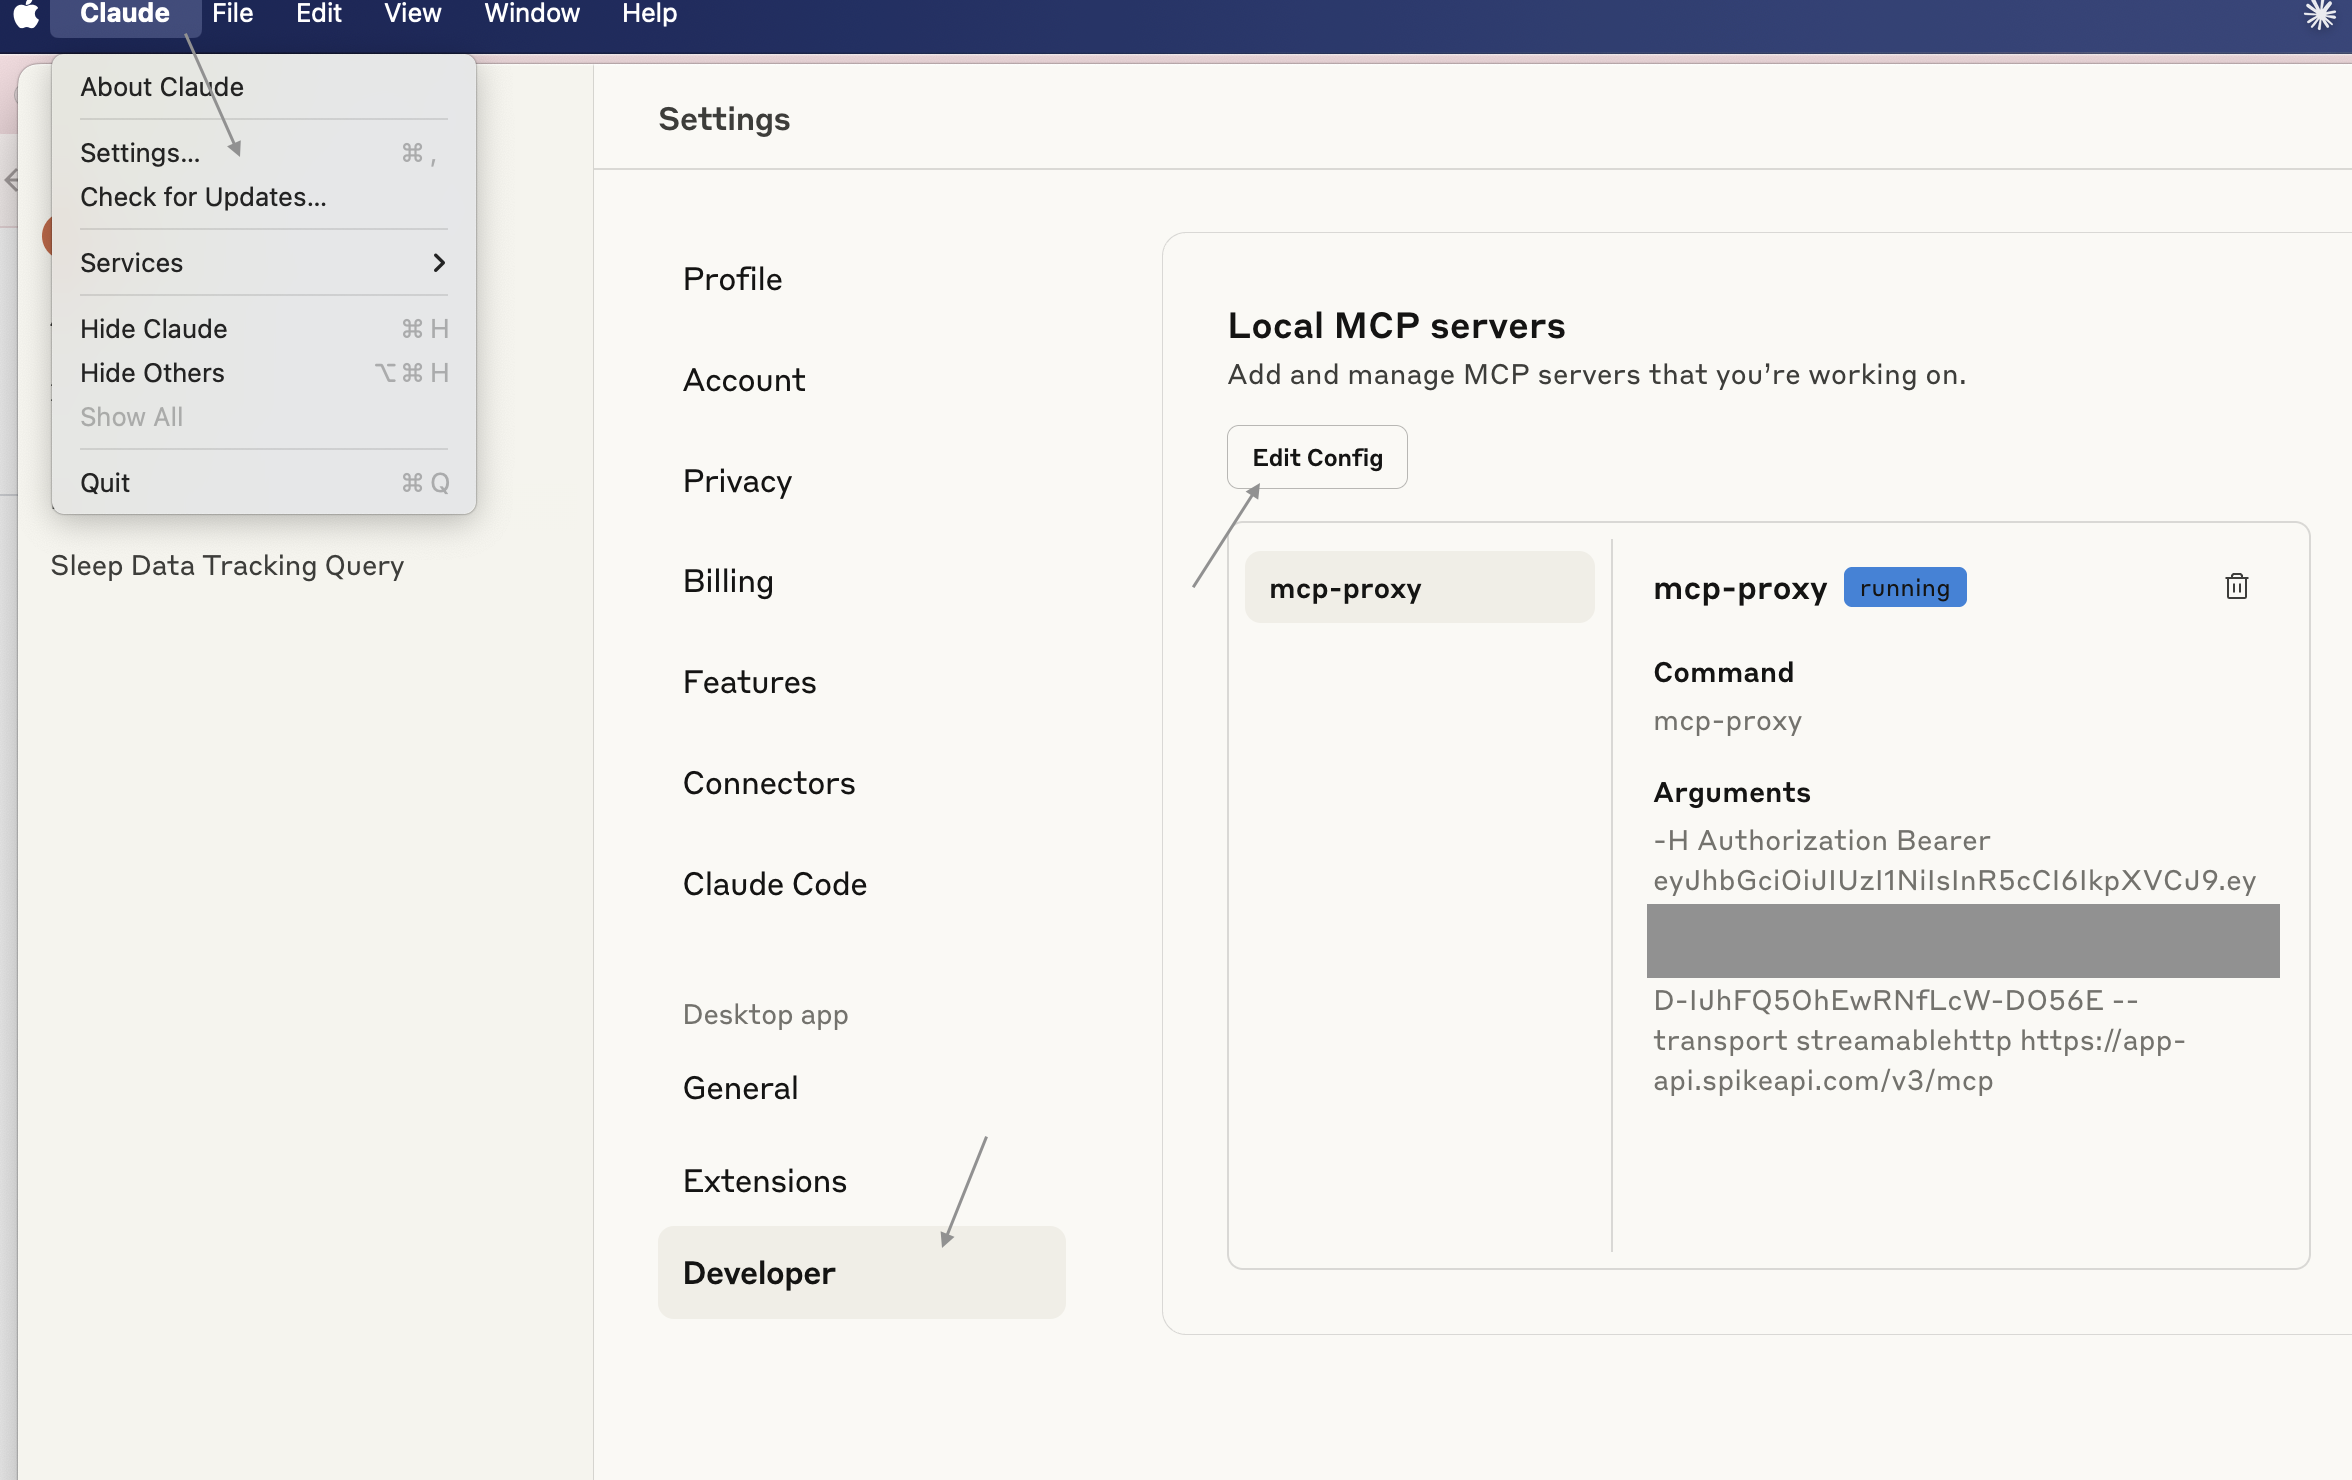
- Add the following configuration to the file (replace
<SPIKE_ACCESS_TOKEN>with your actual token):
- Save the file and restart Claude Desktop
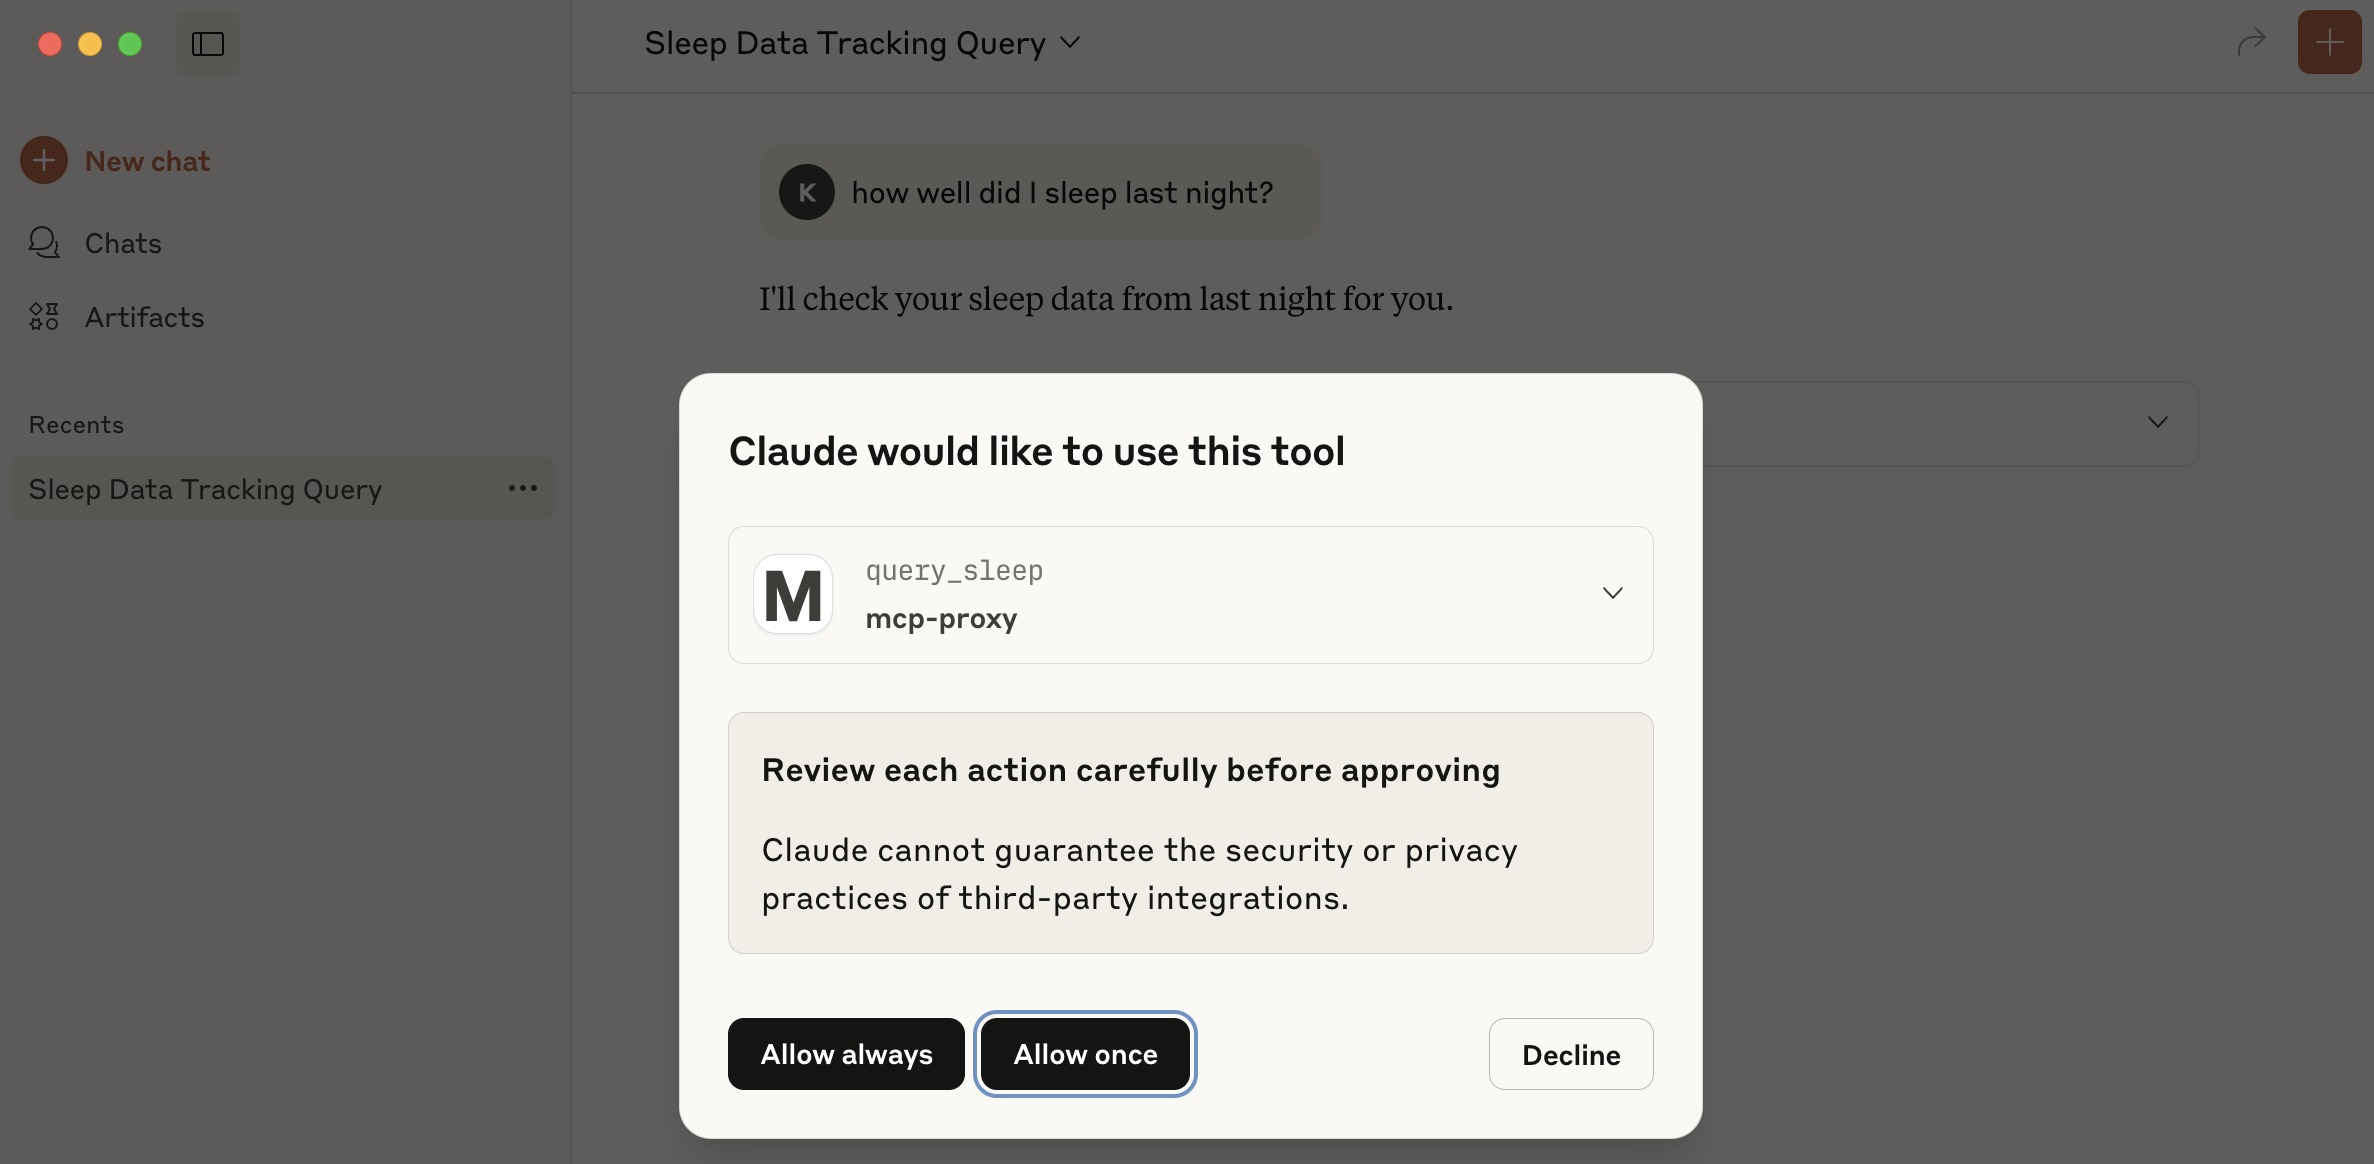
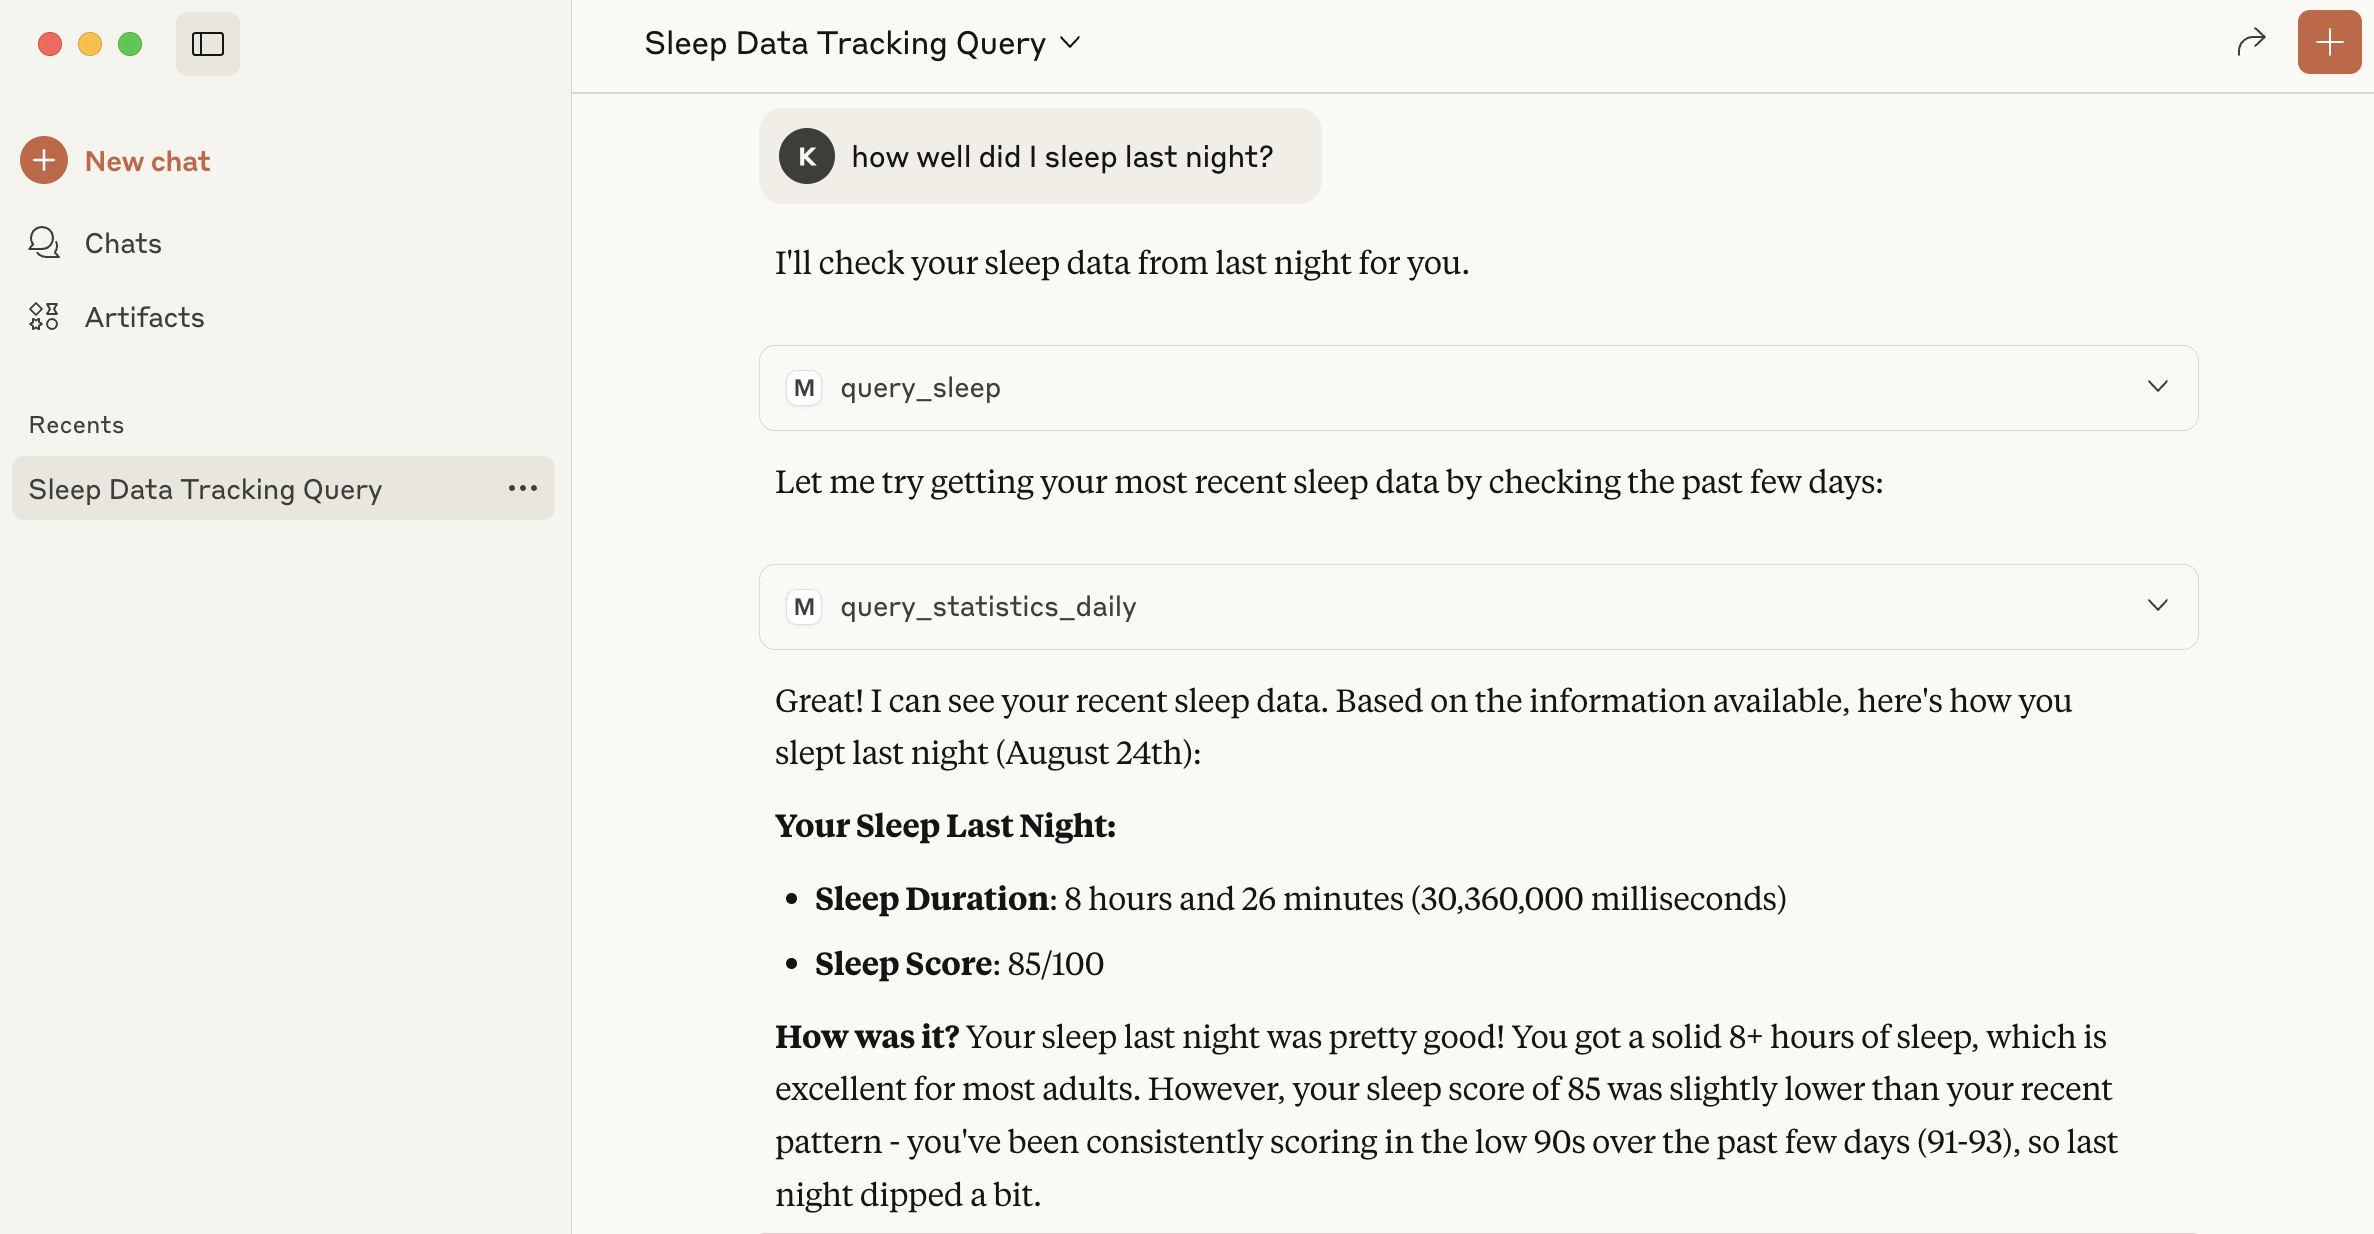
Step 3: Test the Connection
Try a simple query to verify everything is working:query_sleep tool being used and may be prompted for approval:
Next Steps
For production integrations and complete implementation examples, see the Implementation Guide which includes:- Complete OpenAI integration examples (Python, Go, Node.js, cURL)
- Anthropic/Claude integration examples
- Authentication setup
- Error handling
- Available MCP tools and endpoints