Admin Console Access
Access the Spike API admin console to configure your application settings, manage integrations, and monitor your API usage.
Application Identifiers
Application ID
Your unique application identifier assigned when the application is created. Use this ID for API authentication and integration management.Authentication Keys
Access your application credentials from the admin console to authenticate and secure your API integration.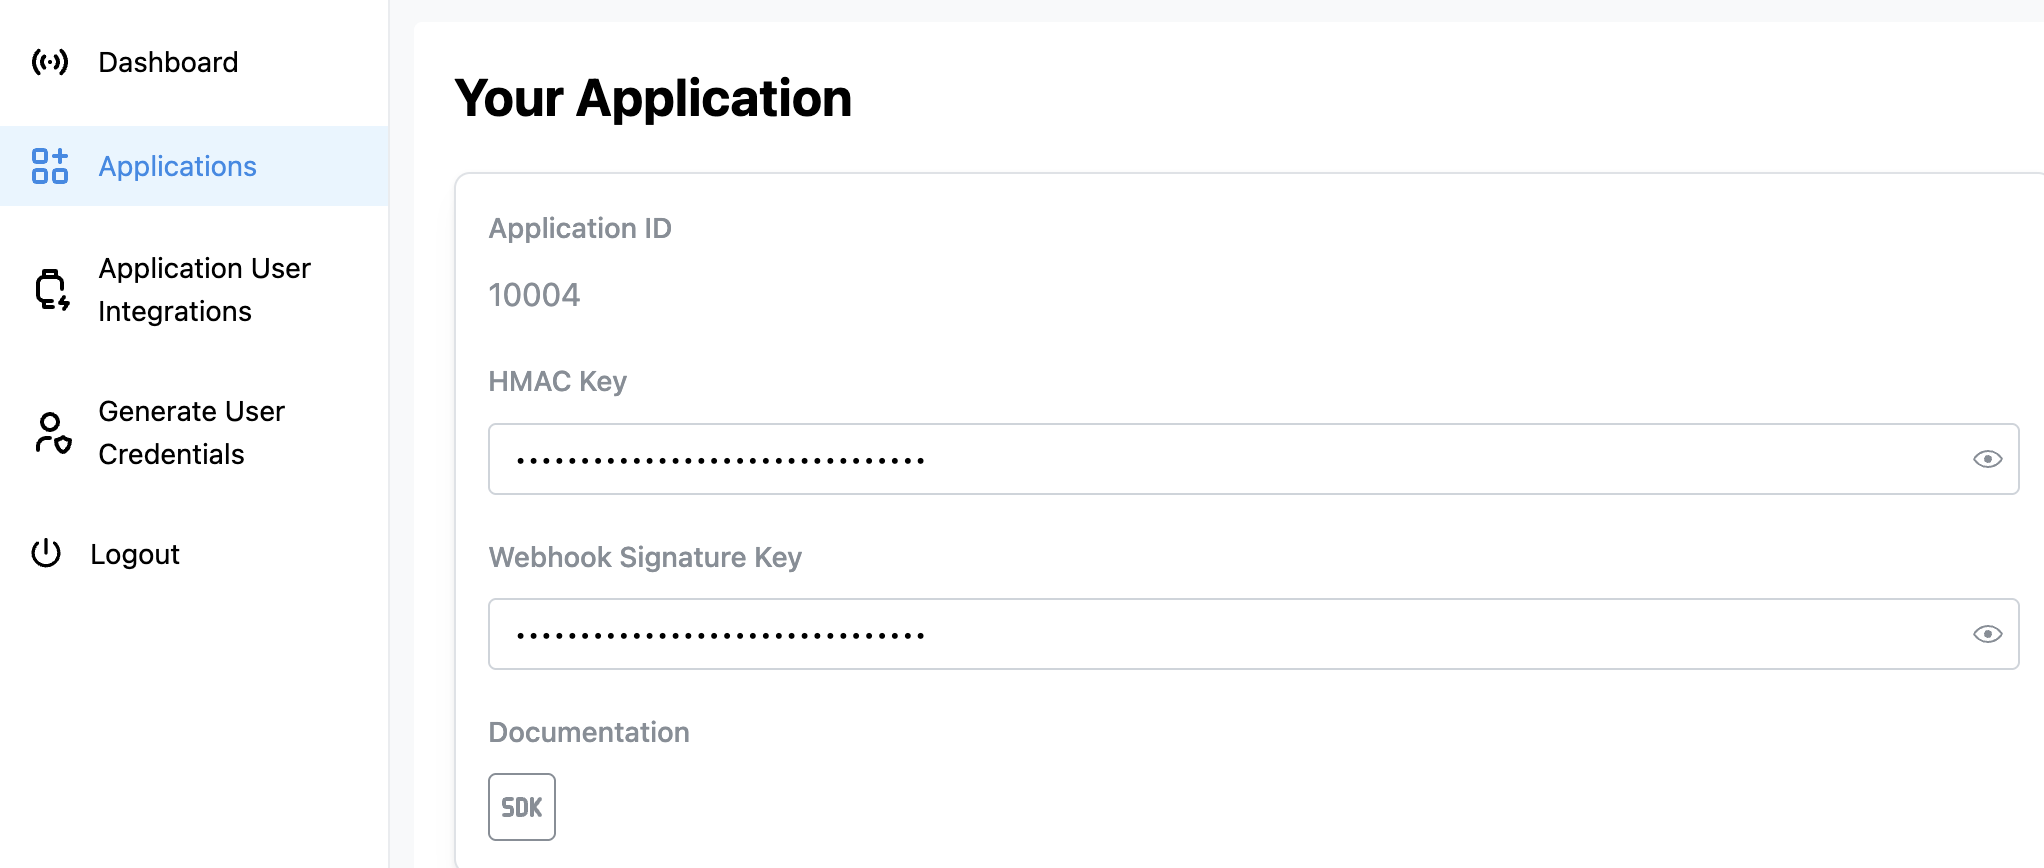
HMAC Key
Secret key for HMAC-based authentication. Required forhmac auth flow applications. Must be at least 16 characters long.
For detailed implementation examples, see the Authentication documentation.
Webhook Signature Key
Secret key used to sign webhook payloads for security verification. Use this to validate that webhooks are genuinely from Spike API. For implementation examples and signature verification code, see the Webhooks documentation.Integration Options
Configure your application settings through the admin console to customize integration behavior and data handling.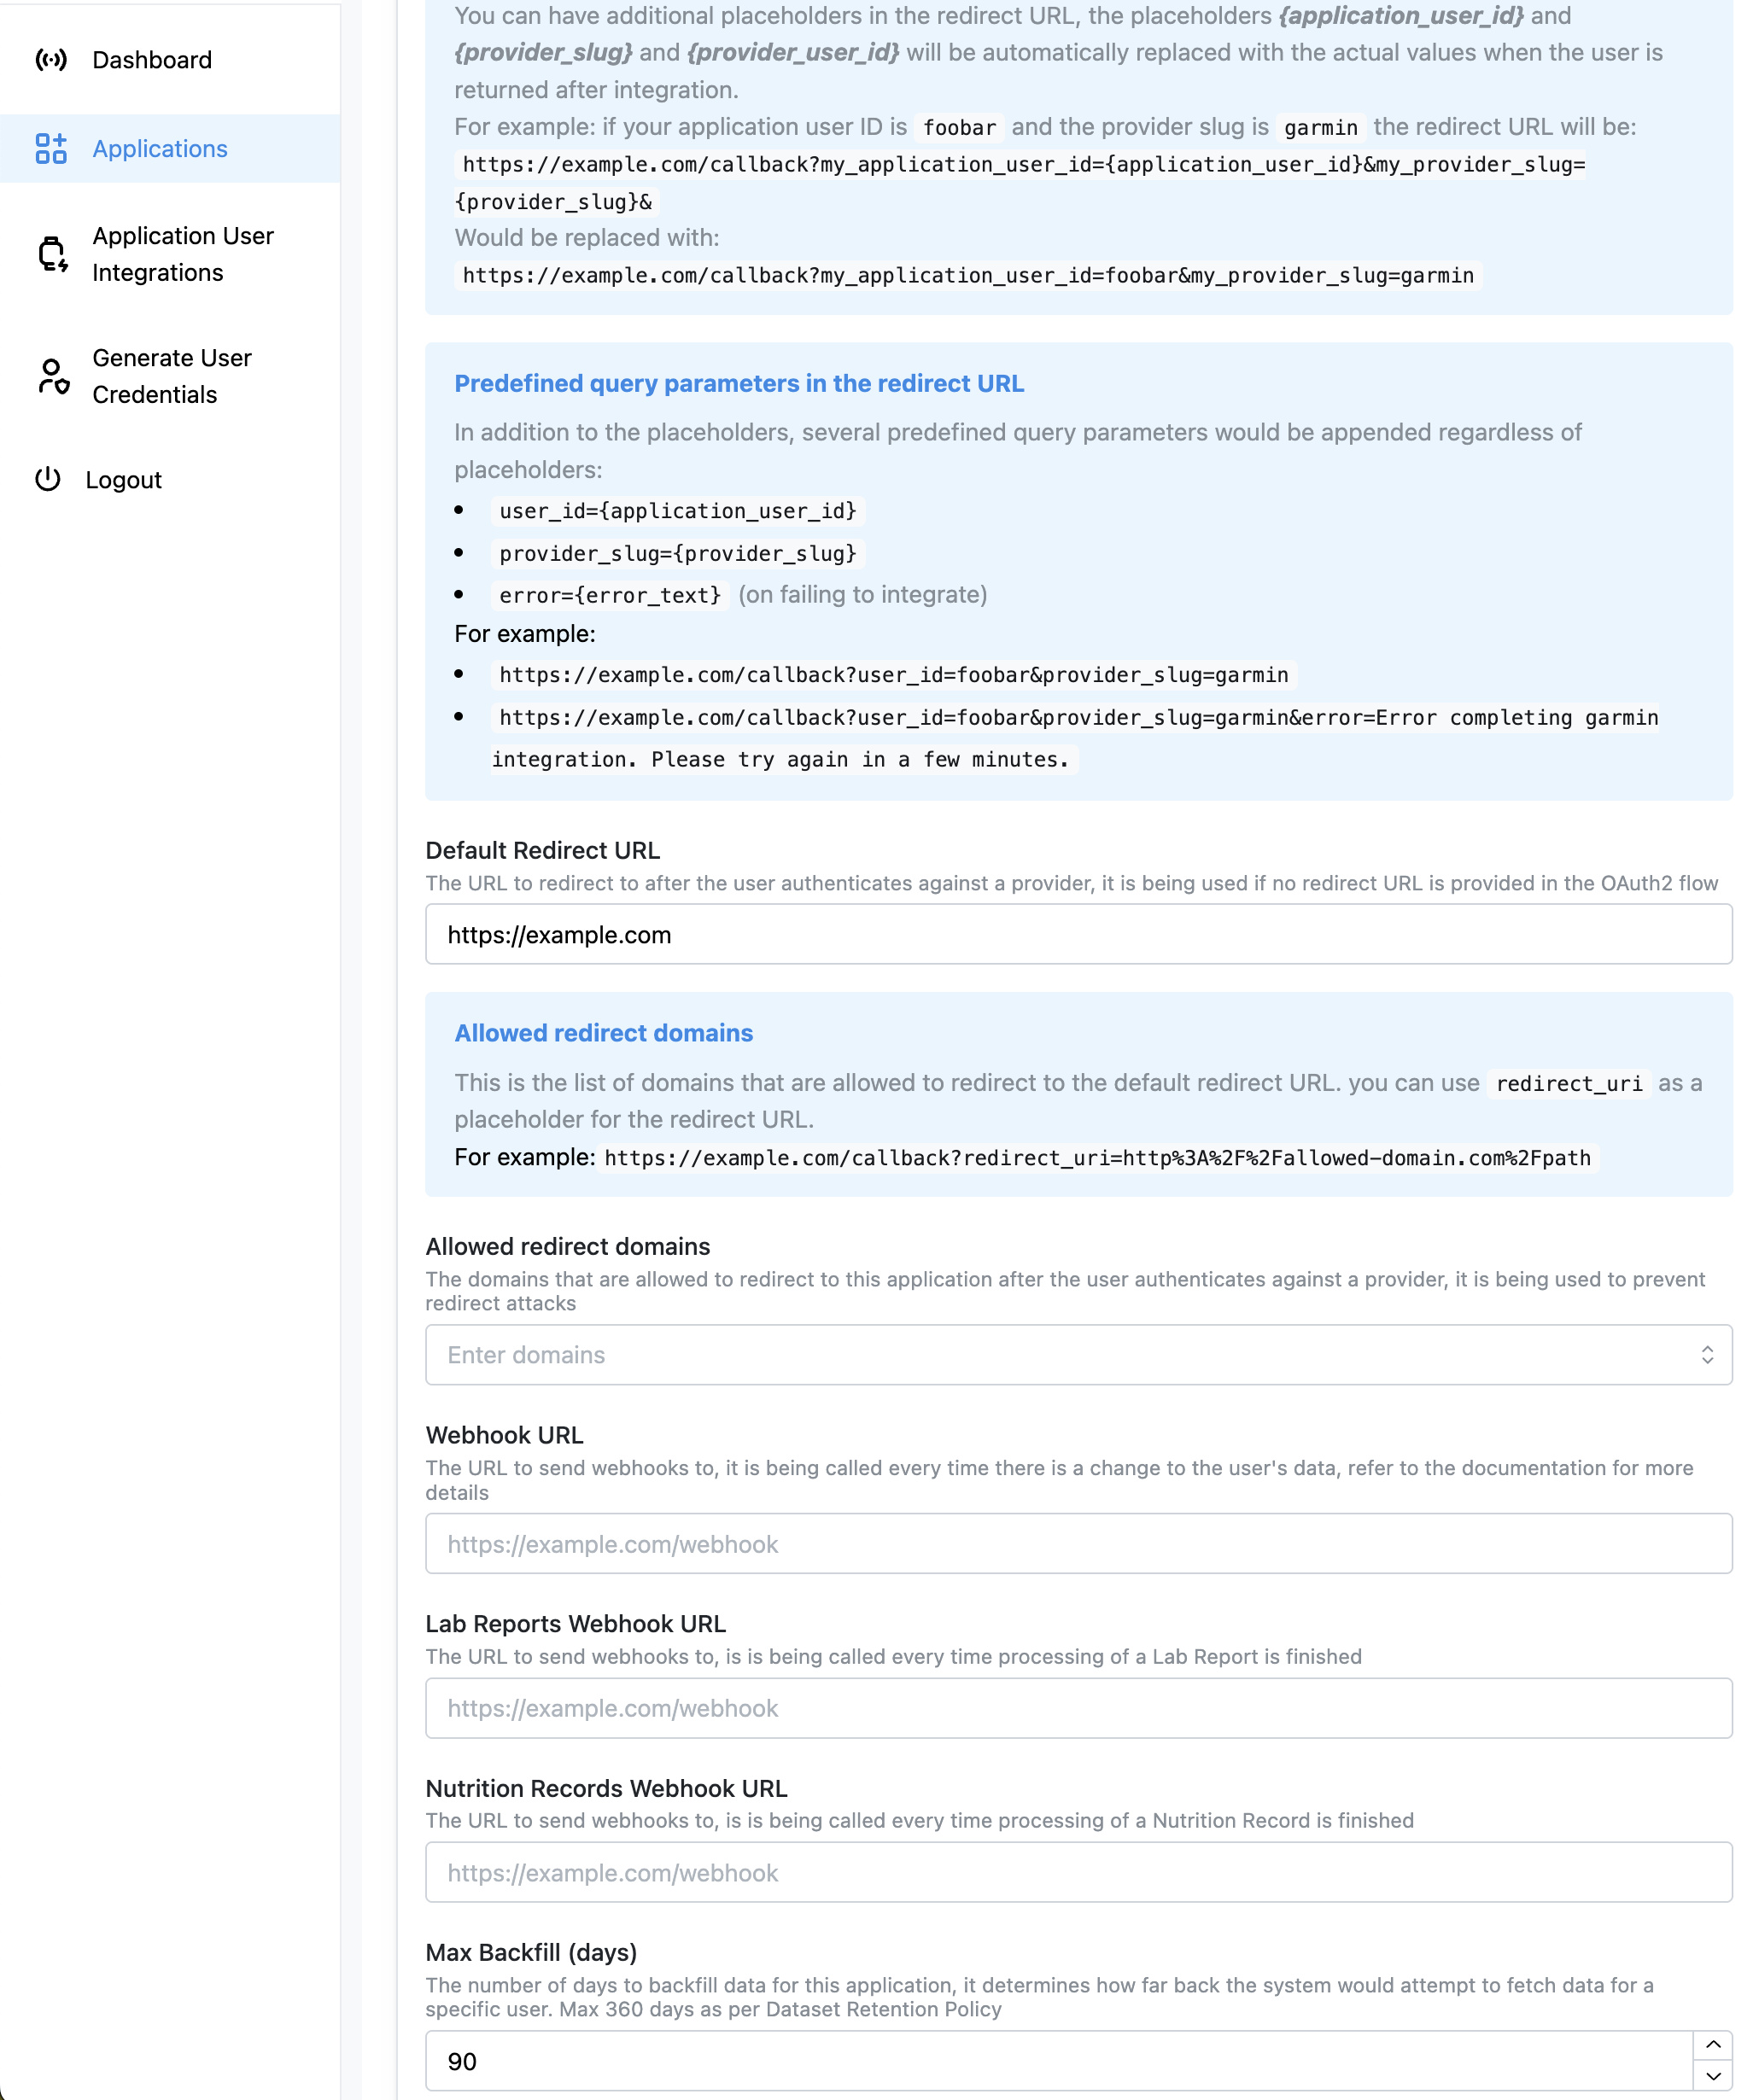
Default Redirect URL
The URL users are redirected to after authenticating with a provider. Used when no specific redirect URL is provided in the OAuth2 flow. Placeholders available:{application_user_id}- Your application’s user identifier{provider_slug}- The connected provider (e.g., “garmin”, “fitbit”){provider_user_id}- The user’s ID from the provider
user_id={application_user_id}provider_slug={provider_slug}error={error_text}(only when integration fails)
Allowed Redirect Domains
List of domains permitted for redirect URLs to prevent redirect attacks. You can useredirect_uri as a placeholder for dynamic redirects.
Example:
Webhook URLs
Main Webhook URL
Primary endpoint for receiving real-time data updates. Called whenever user health data changes. When triggered:- New health data from connected providers
- Data updates or corrections
- Provider integration status changes
Lab Reports Webhook URL
Dedicated endpoint for lab report processing completion notifications. When triggered:- Lab report analysis is completed
- Lab report processing fails
- New lab report data becomes available
Nutrition Records Webhook URL
Dedicated endpoint for nutrition data processing notifications. When triggered:- Nutrition record analysis is completed
- Nutrition data processing fails
- New nutrition data becomes available
Data Backfill Configuration
Max Backfill (days)
Controls how far back the system attempts to fetch historical data when a user connects a new provider. Limitations:- Maximum 90 days
- Cannot exceed your Dataset Retention Policy setting
- Provider-specific limitations may apply (e.g., some providers only provide 30 days)
- Fitbit: Up to 90 days
- Garmin: Up to 90 days
- Oura: Up to 180 days (recommended max 30 days)
- Apple HealthKit: Limited by user’s device data
- Android Health Connect: 30 days + optional PERMISSION_READ_HEALTH_DATA_HISTORY
For SDK-based providers (iOS HealthKit, Android Health Connect), manual data extraction is required. See the SDK backfill documentation for implementation details.
Best Practices
Security
- Keep authentication keys secure and rotate them regularly
- Use HTTPS for all webhook and redirect URLs
- Validate webhook signatures using your Webhook Signature Key
- Restrict allowed redirect domains to prevent attacks
Performance
- Use dedicated webhook URLs for different data types when you need specialized handling
- Set appropriate backfill limits based on your processing capacity
- Consider rate limiting on your webhook endpoints
Monitoring
- Monitor webhook delivery success rates
- Set up alerts for authentication failures
- Track backfill completion status for new integrations
Development vs Production
- Use different applications for development and production environments
- Test webhook endpoints thoroughly before going live
- Start with shorter backfill periods during development