
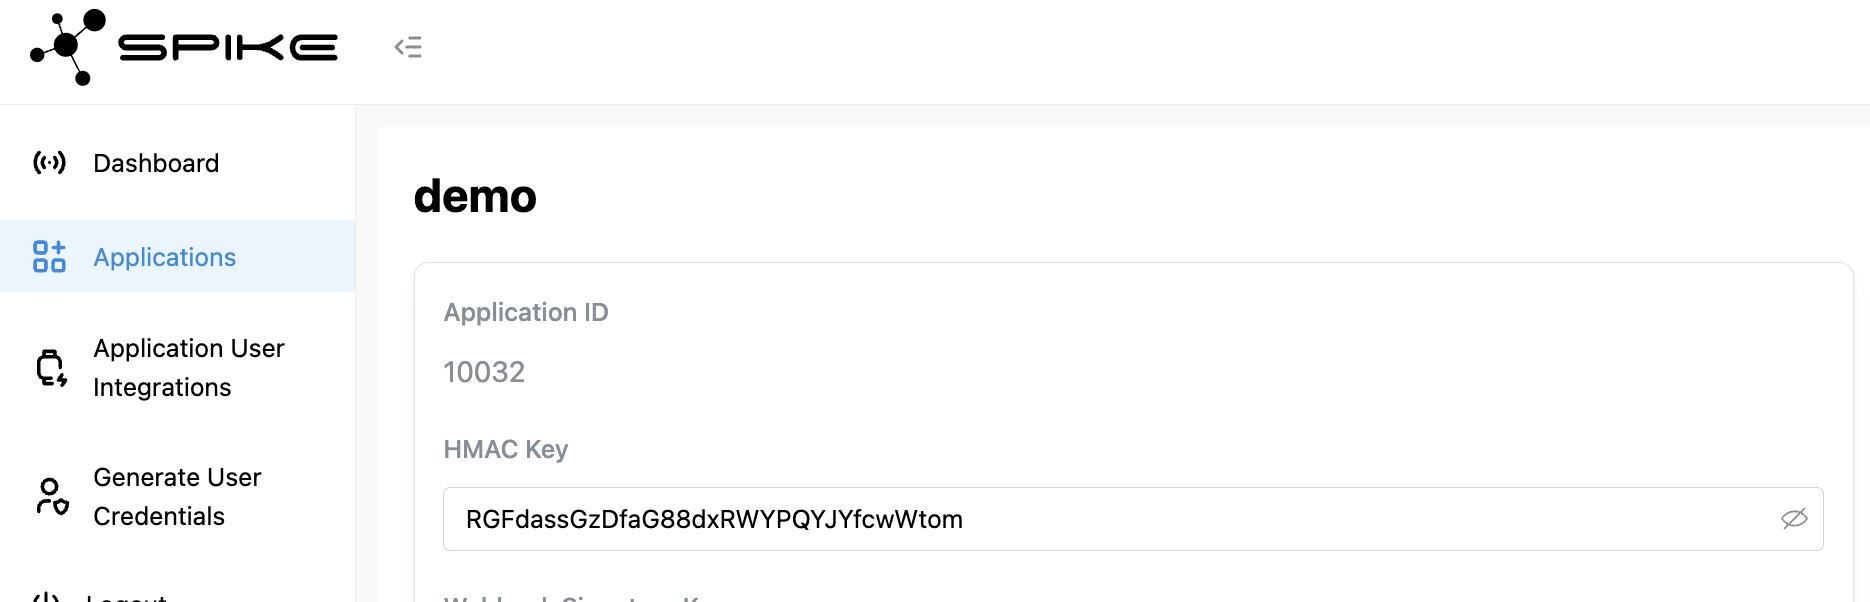
Spike API authenticates end users using HMAC signatures generated with a shared secret key . You can get this key from the administrative console .
Step 1: Generate an HMAC Signature
Use the secret key from your console to generate an HMAC-SHA256 signature for each user.
Code Examples
[Python]
[JavaScript]
[Go]
[PHP]
import hmac
import hashlib
# Example: sign_user("my_application_user_123")
def sign_user ( user_id : str ) -> str :
hmac_key = b "HMAC_KEY_FROM_ADMIN_CONSOLE"
h = hmac.new(hmac_key, user_id.encode(), hashlib.sha256)
return h.hexdigest()
const crypto = require ( "crypto" );
// Example: signUser("my_application_user_123")
function signUser ( userId ) {
const hmacKey = "HMAC_KEY_FROM_ADMIN_CONSOLE" ;
const hmac = crypto . createHmac ( "sha256" , hmacKey );
hmac . update ( userId );
return hmac . digest ( "hex" );
}
import (
" crypto/hmac "
" crypto/sha256 "
" encoding/hex "
)
// Example: signUser("my_application_user_123")
func signUser ( userID string ) ( string , error ) {
m := hmac . New ( sha256 . New , [] byte ( "HMAC_KEY_FROM_ADMIN_CONSOLE" ))
_ , err := m . Write ([] byte ( userID ))
if err != nil {
return "" , err
}
return hex . EncodeToString ( m . Sum ( nil )), nil
}
<? php
// Example: signUser("my_application_user_123")
function signUser ( $userId ) {
$hmacKey = "HMAC_KEY_FROM_ADMIN_CONSOLE" ;
$hmac = hash_hmac ( 'sha256' , $userId , $hmacKey , false );
return $hmac ;
}
Step 2: Exchange Signature for Access Token
Send the generated signature to the following endpoint to authorize the user and get an access token:
https://app-api.spikeapi.com/v3/auth/hmac
Request Parameters
The ID of the application for which you are requesting the access token.
The unique ID of the user in your system. This is the only identifier needed
to reference the user. Maximum 1-128 alphanumeric characters. May include
these special characters: - _ .
The HMAC signature generated to verify the user’s authenticity.
Example Request
curl --location 'https://app-api.spikeapi.com/v3/auth/hmac' \
--header 'Content-Type: application/json' \
--header 'Accept: application/json' \
--data '{
"application_id": 9999,
"application_user_id": "my_application_user_123",
"signature": "SIGNATURE_FROM_STEP_1"
}'
Response
The access token for the user. Must be consistent throughout the user’s
lifecycle. No pre-registration is required—users are valid after the first
provider integration.
Example Response
{
"access_token" : "eyJhbGciOiJIUzI1NiIsInR5cCI6IkpXVCJ9.eyJpc3MiOiI5OTk5Iiwic3ViIjoiYXBwbGljYXRpb24tdXNlci1pZC0xMjMifQ.XnI1y4tkRjdiSeHwUqdmk9em-hTPojtMzbOU30nMd_Y"
}
Step 3: Store and Use the Access Token
On successful authentication, the API will return an access token in the response. Store this token securely and include it in the Authorization header for all subsequent API calls:
Authorization: Bearer <access_token>